How to Clean Black Mold
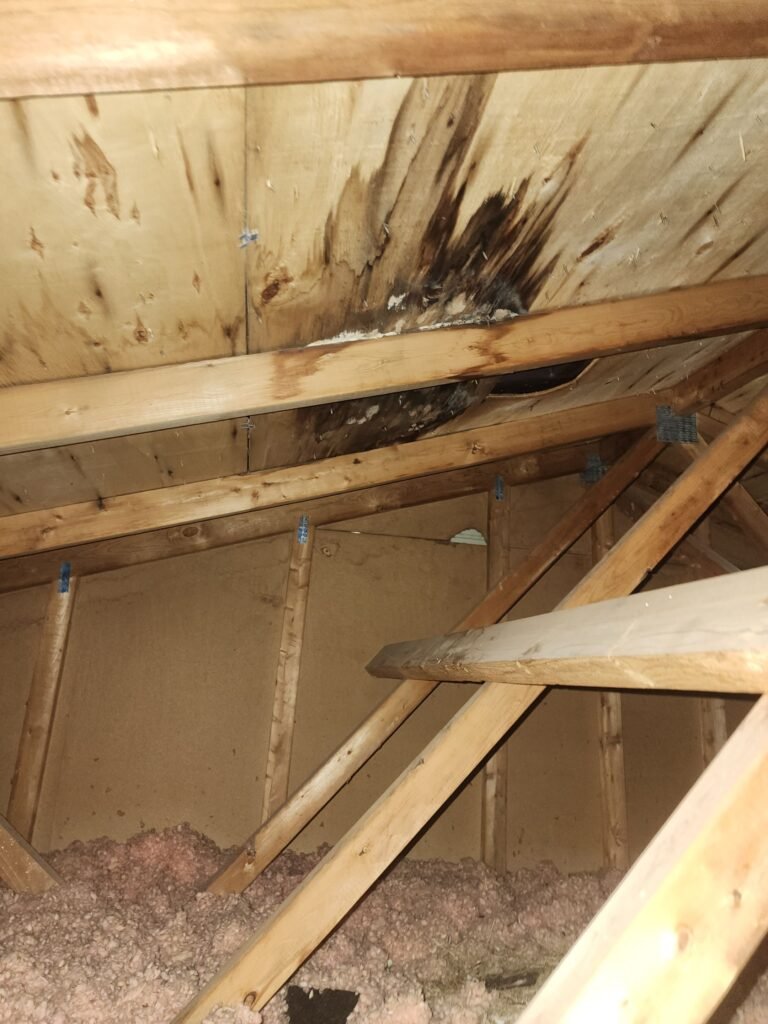
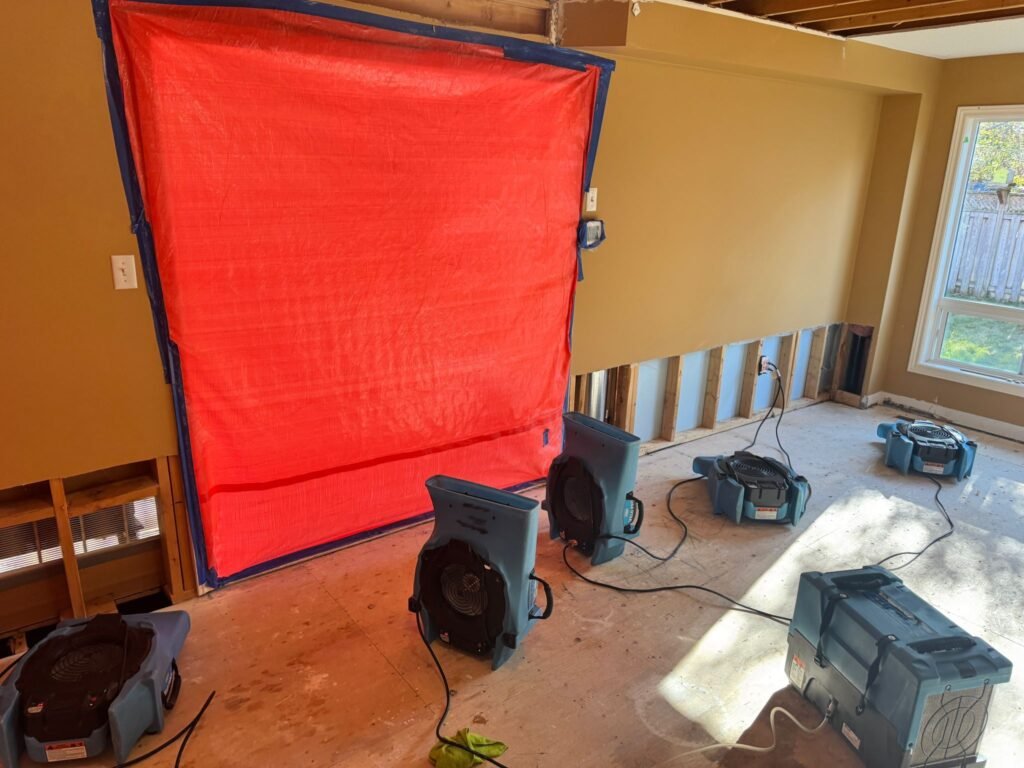
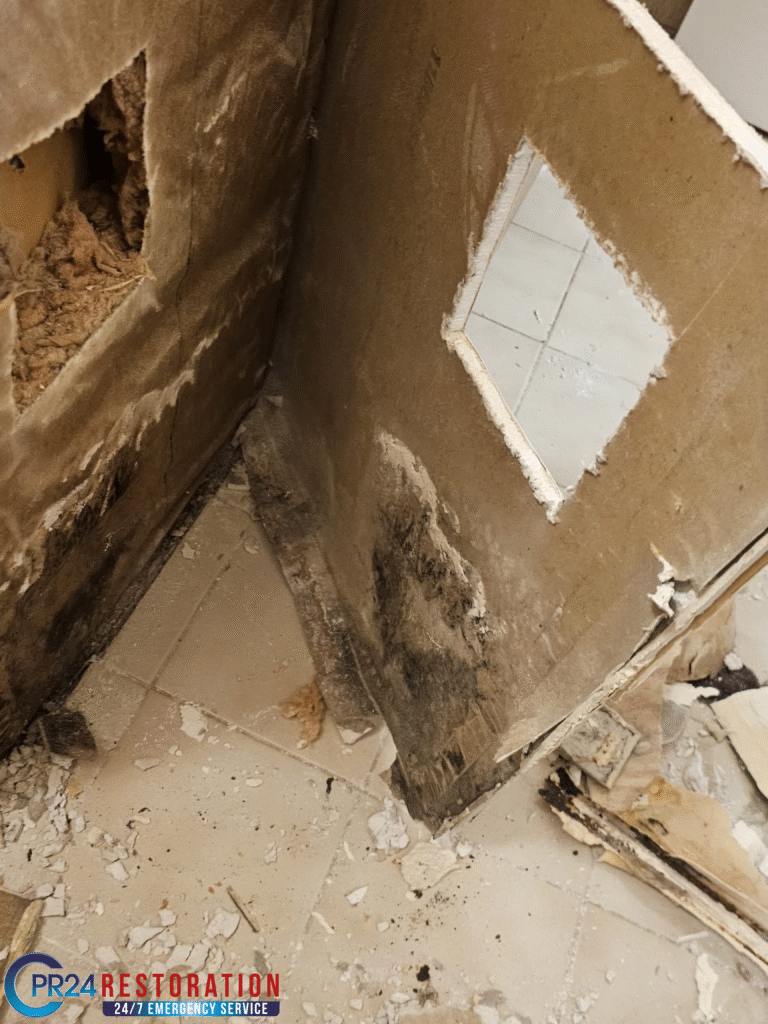
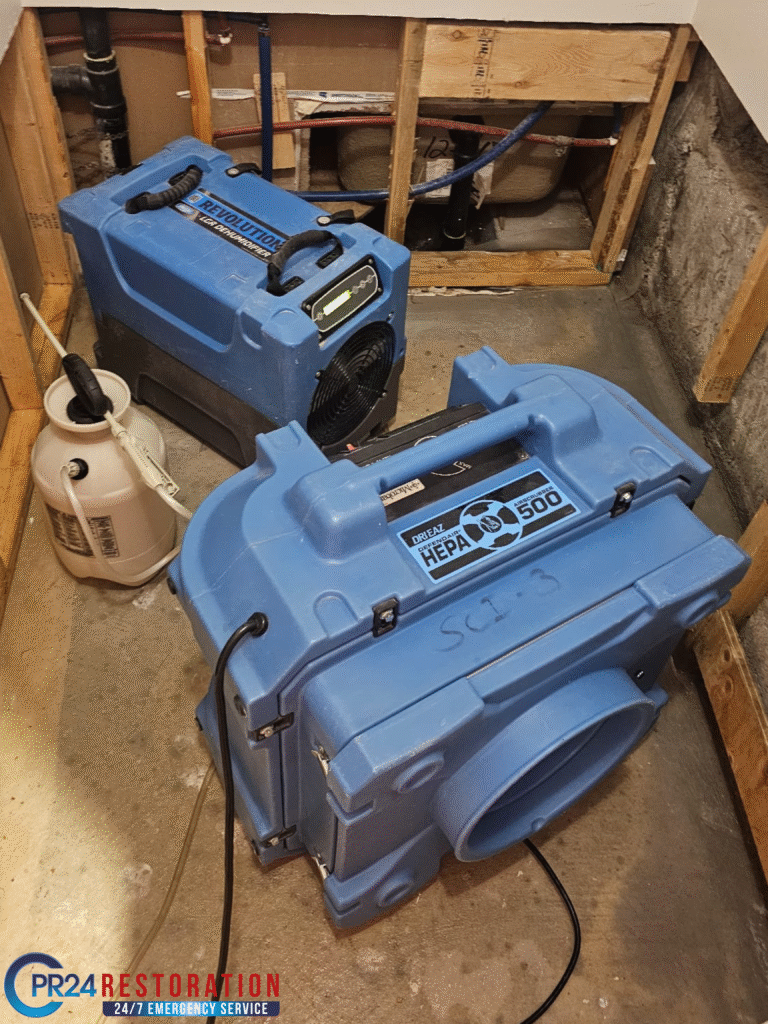
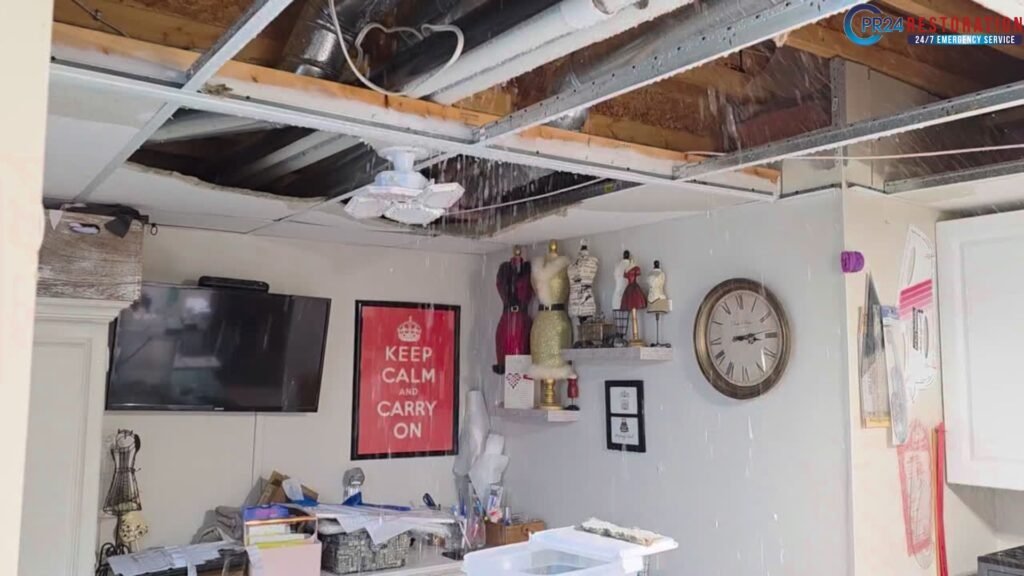
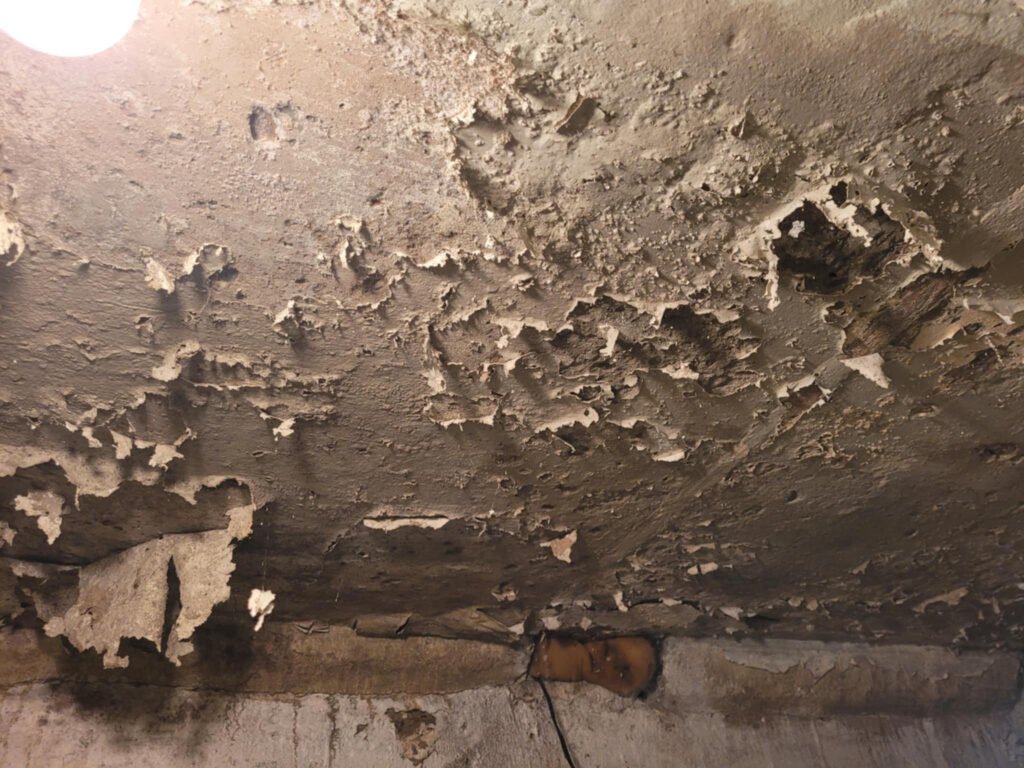
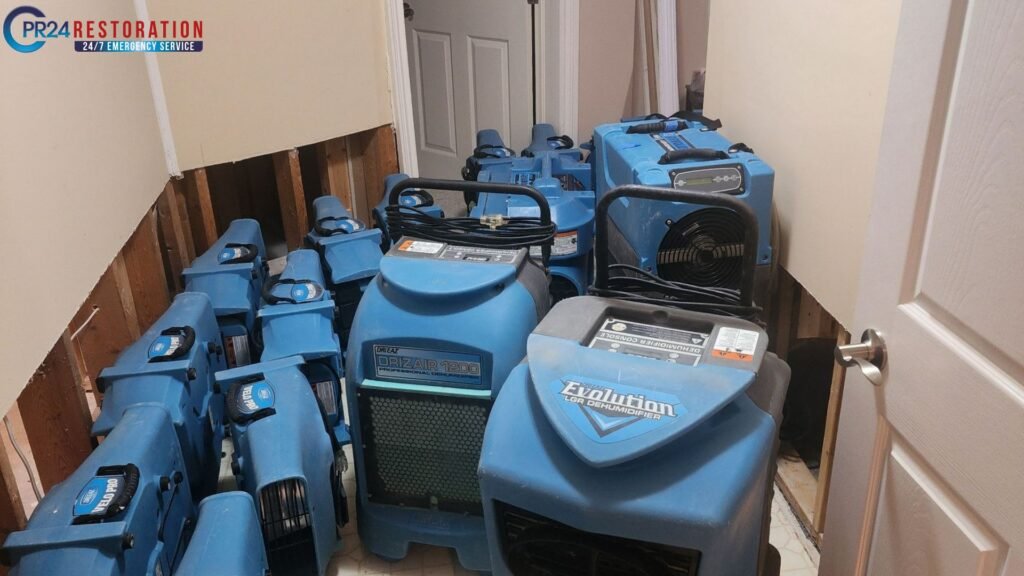
Toxic black mold can grow into large infestations within days, so it’s crucial to clean black mold promptly to prevent further spread. Quick action becomes crucial if you find black mold in your home. Those dark spots on walls or ceilings signal more than just an aesthetic problem. Your lungs and nervous system could suffer from extended black mold exposure. The feared black mold in most homes goes by the name Stachybotrys chartarum. Many people reach for harsh chemicals, but vinegar works better than bleach to kill mold. White vinegar’s mild acidity makes it powerful enough to eliminate more than 80% of mold species. You can also fight black mold with common items like baking soda and hydrogen peroxide. This detailed guide shows you the safe and best way to clean black mold Toronto. We provide practical, step-by-step solutions to identify dangerous growths and stop future outbreaks. Our advice helps protect your home and health. Identifying and Understanding Toronto Black Mold What black mold Toronto looks like Black mold isn’t always black, despite what its name suggests. Most people discuss Stachybotrys chartarum (S. chartarum) as black mold, but you’ll see it in dark shades from greenish-black to dark brown. The mold creates circular, clustered patterns and feels either fuzzy or slimy to the touch. The fungus often leaves green stains on surfaces after you wipe it away. Moisture levels change the mold’s appearance. It looks wet and slimy during active growth but becomes dry and powdery once its water source runs out. You’ll notice a distinct musty smell that reminds people of rotting plants or damp paper. Common places it grows in homes Black mold runs on what experts call the “trifecta” – humidity, moisture, and poor airflow. The mold needs temperatures between 40-100°F (4.4-38°C) and organic materials with cellulose to feed on. Your bathroom tops the list of vulnerable spots, especially around shower stalls, tiles, and curtains. Basements and crawlspaces attract mold because of leaks, condensation, and poor ventilation. Kitchen areas create perfect conditions with sink moisture and food scraps. Other common locations include: Health risks of black mold exposure Research shows black mold isn’t more dangerous than other types, contrary to popular belief. In spite of that, exposure can trigger serious health reactions, especially in sensitive people. Most people experience allergic reactions that appear as congestion, watery eyes, sneezing, and skin rashes. Mold spores can trigger attacks or worsen symptoms in people with asthma. People with existing respiratory conditions, weakened immune systems, infants, and elderly individuals face higher health risks. A 2021 report reveals that England’s NHS spends about £1.4 billion yearly treating illnesses linked to damp housing. Note that mold exposure affects everyone differently. Some people might have severe reactions while others barely notice the same environment. Essential Tools and Safety Gear Black mold removal without proper protection puts your health at serious risk. Your safety equipment acts as the first defense against airborne spores released during cleaning. Protective clothing and masks Small cleaning jobs (less than 10 square feet) need basic protection with an N-95 respirator, gloves, and eye protection. Medium-sized areas that are 10 to 100 square feet need half-face or full-face air purifying respirators. These respirators should have P100 filter cartridges for better protection. Your hands need rubber gloves that extend to mid-forearm. Strong cleaning solutions work best with natural rubber, neoprene, nitrile, polyurethane, or PVC gloves. Your eyes need protection from goggles without ventilation holes to block spores from entering. Larger infestations demand full protective gear – disposable coveralls, head covering, and shoe coverings. Mold spores stick to clothing and can spread throughout your home, so you should seal disposable items in plastic bags after use. Ventilation and containment tips Good containment stops mold from spreading to clean areas of your home. Large mold remediation projects need sealed floors, pathways, and vents with plastic sheeting at least 6 mils thick. Negative air pressure within the contained area is vital – air should flow into the work area instead of out. A HEPA-filtered exhaust fan creates this effect. The plastic sheeting should bend inward on all surfaces if your containment works properly. Open windows help improve ventilation. Your HVAC systems should stay off during cleaning to prevent spores from circulating. Cleaning supplies checklist You’ll need these supplies before starting: People with respiratory conditions like asthma or a weakened immune system should not attempt black mold removal. Professional help remains the safest option in these cases. Step-by-Step Methods to Clean Black Mold You can control mold by managing moisture. Start cleaning black mold after identifying it and getting the right safety gear. Using hydrogen peroxide and baking soda A 3% hydrogen peroxide solution kills mold on both porous and non-porous surfaces. Just pour the undiluted peroxide into a spray bottle and spray it on moldy spots. Let it bubble for 10 minutes. Grab a soft brush to scrub the area and dry it completely. Tough mold spots need a paste made from 1 part hydrogen peroxide and 2 parts baking soda. Put this paste on the mold and wait 30 minutes before scrubbing it away. Cleaning with vinegar and tea tree oil White vinegar’s acidity kills about 82% of mold species. Spray it undiluted on moldy areas and wait an hour before wiping. Tea tree oil works great too, because of its antifungal properties. Mix a teaspoon of tea tree oil with a cup of water. Spray this solution on the mold and wait at least an hour before cleaning it off. When and how to use bleach safely People think bleach works best for mold cleanup, but that’s not true. It doesn’t work on porous surfaces and only removes stains instead of killing deep mold. In stark comparison to this, it works fine on non-porous surfaces like tile. Mix 1 cup bleach with 1 gallon water. Make sure the area has good airflow. Never mix bleach with ammonia or vinegar – it creates dangerous fumes. Surface-specific cleaning: wood, tile, vents Start with a detergent solution on wooden surfaces before using stronger cleaners. Tile and grout clean up nicely with baking soda paste or hydrogen peroxide.