
Experiencing a toilet overflow can be a homeowner’s nightmare. The sudden rush of water spilling onto the bathroom floor can lead to panic and confusion. However, knowing how to respond effectively can minimize damage and restore order.
This guide will help you with the important steps to take when your toilet overflows. You will learn how to handle the situation confidently and efficiently.
Understanding the Causes of Toilet Overflows
To manage an overflowing toilet, it’s important to know what caused the problem. Here are some common culprits:
Clogs and Blockages
One of the most frequent reasons for a toilet overflow is a clog. This can occur because:
- Excessive toilet paper usage
- Flushing inappropriate items (e.g., wipes, feminine products)
- Foreign objects accidentally dropped into the toilet
Malfunctioning Components
Sometimes, the problem lies within the toilet’s internal mechanisms. Issues such as:
- A faulty flapper valve that fails to close
- A malfunctioning float that doesn’t regulate water levels properly
- A broken fill valve that allows continuous water flow
Sewer Line Issues
In some cases, the problem may extend beyond your toilet. A blockage in the sewer line can cause backflow, leading to an overflow. Signs of sewer line issues include:
- Gurgling sounds from other drains
- Slow drainage in multiple fixtures
- Foul odours emanating from the toilet or drains
Immediate Actions to Take When Your Toilet Overflows
When faced with an overflowing toilet, swift action is essential. Follow these steps to mitigate damage and restore functionality.
Step 1: Stop the Flow of Water
The first priority is to halt the water from overflowing. You can do this by:
- Shutting Off the Water Supply: Locate the shut-off valve behind the toilet and turn it clockwise to stop the water flow.
- Manual Intervention: If you cannot reach the valve fast, take off the tank lid. Then, push down on the flapper valve. This will stop more water from entering the bowl.
Step 2: Contain the Water
Once the water flow is stopped, your next task is to contain the mess. Use towels or rags to soak up the excess water around the toilet. Avoid using paper towels, as they may disintegrate and create more mess.
Step 3: Assess the Situation
After containing the overflow, take a moment to assess the situation. Check for any visible blockages in the toilet bowl and determine if the water is clean or contaminated. This will guide your next steps.
Cleaning Up After an Overflow
Cleaning up after a toilet overflow cleanup is crucial to prevent water damage and bacterial growth. Here’s how to do it effectively.
Step 4: Gather Cleaning Supplies
Before you start cleaning, gather the necessary supplies:
- Rubber gloves
- Mop and bucket
- Antibacterial cleaner or bleach
- Towels or rags
Step 5: Mop Up Excess Water
Using your mop, begin soaking up the excess water on the floor. Wring out the mop frequently to remove as much water as possible. Dispose of the dirty water in a safe manner, such as down the bathtub drain.
Step 6: Sanitize the Area
Once the water is cleaned up, it’s essential to sanitize the affected area. Mix one cup of bleach with one gallon of water. Use this solution to wipe the floor and any surfaces that touched the overflow.
Addressing the Clog
After cleaning up, it’s time to tackle the root cause of the overflow: the clog.
Step 7: Use a Plunger
A plunger is often the most effective tool for clearing a clogged toilet. Here’s how to use it:
- Ensure there is enough water in the bowl to cover the plunger.
- Position the plunger over the drain hole and push down firmly, creating a seal.
- Pull up sharply and repeat this motion several times until you dislodge the clog.
Step 8: Try a Toilet Auger
If the plunger fails to clear the blockage, a toilet auger may be necessary. This tool can reach deeper clogs that a plunger cannot. Insert the auger into the toilet and crank it to break up the obstruction.
Preventing Future Toilet Overflows
Once you’ve dealt with the immediate issue, consider implementing preventive measures to avoid future toilet overflows emergency.
Step 9: Be Mindful of What You Flush
Educate your household about what can and cannot be flushed. Always dispose of items like paper towels, wipes, and feminine hygiene products in the trash.
Step 10: Regular Maintenance
Regularly inspect and maintain your toilet’s components. Replace worn-out flapper valves and ensure the float mechanism is functioning correctly. This proactive approach can help prevent future toilet overflow repair problems.
Step 11: Schedule Professional Inspections
Consider having CPR24 Restoration inspect your sewer lines and toilet systems periodically. They can identify potential problems before they escalate into major issues.
When to Call CPR24 Restoration
While many toilet overflow situations can be handled independently, there are times when professional help is necessary.
Step 12: Persistent Clogs
If you’ve tried plunging and using an auger without success, it may be time to call CPR24 Restoration. Persistent clogs could indicate a more serious issue within the plumbing system.
Step 13: Signs of Sewer Problems
If you notice gurgling sounds from other drains or foul odours, these could be signs of sewer line issues. CPR24 Restoration can diagnose and address these problems effectively.
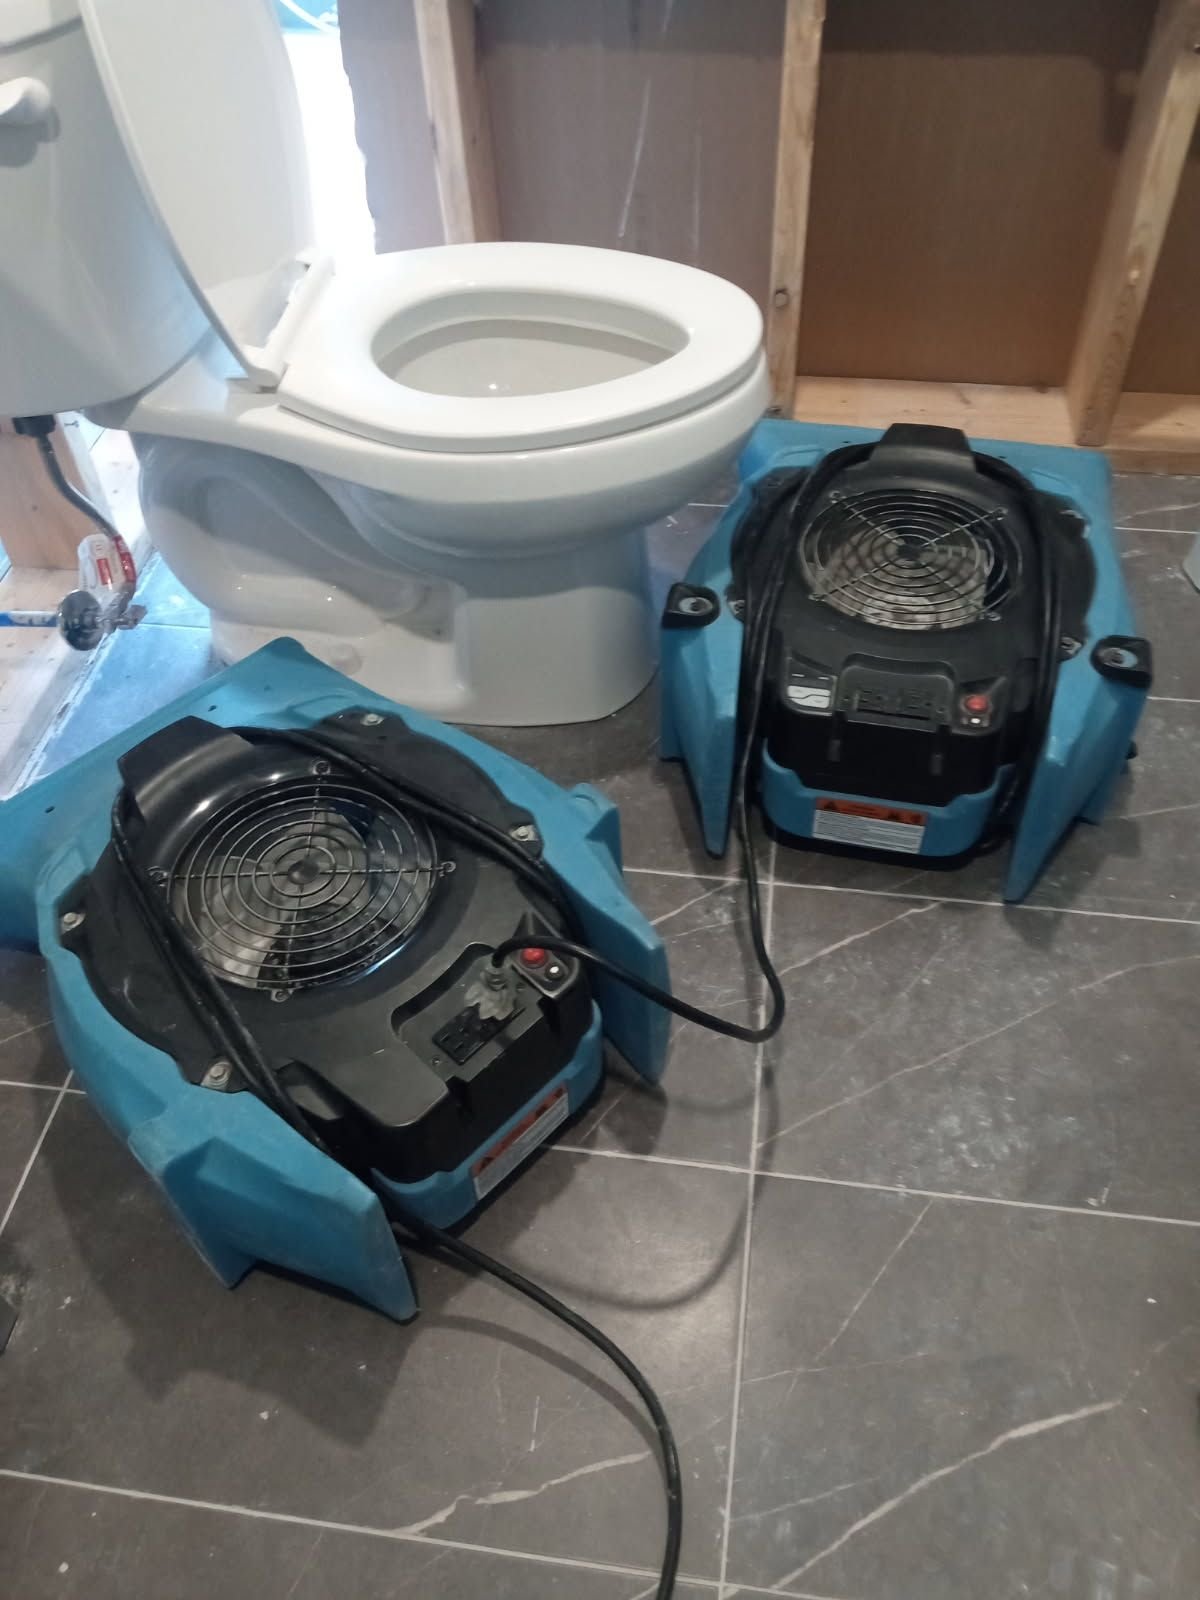
Step 14: Water Damage Concerns
If the toilet overflow has caused a lot of water damage, like wet drywall or flooring, CPR24 Restoration can check the damage. They will suggest the right steps to fix it.
If you’re dealing with a toilet that keeps overflowing, it’s important to act fast to prevent further damage. Knowing how to stop a toilet from overflowing can save you from costly water damage from toilet overflow. In many cases, a toilet backup or clog is to blame, and finding the right overflowing toilet solution is key.
To stop a toilet from overflowing, turn off the water supply right away. Then, use a plunger or auger to clear the blockage. Regular maintenance and mindful flushing habits can also help prevent toilet overflow before it starts.
Dealing with a toilet overflow can be stressful, but knowing how to respond can make all the difference. By following the steps in this guide, you can manage the situation, clean up the mess, and stop it from happening again. If you have any doubts or ongoing problems, feel free to contact CPR24 Restoration for help. Taking proactive measures today can save you from headaches tomorrow.